Can I just say that I love my Food Saver vacuum sealing system?
I bought it at Costco some time ago when they were running a coupon. Then a few months later there was a deal on the internet that was way cheaper and I've been peeved ever since!
Whatever.
A couple of years ago, I was part of the Soldier's Angels baking team. I loved baking treats to send to our men and women in the Middle East, but I often anguished over whether they tasted any good when they were received a month later. A good vacuum sealer seemed to be the answer.
I quit the baking team shortly after I got the sealer, but I've since used it to send goodies to my long-distance kids. And I will be keeping it busy once Charlie deploys.
You know I will!
The dried cherries turned out quite nicely. Joshie and Natalie love them and would gobble them all up if I let them. I had a few things I've been waiting to seal so I finally dug the sealer out of its niche in the spare room.
When I say niche, I am being kind to myself.
This is the easiest way of packing food for long-term storage, although some foods work better than others. The bags are pretty spendy, so I look for Costco coupons or sales at retail stores.
First, we create our own, custom-sized bag and seal up one end.
To seal up candy bars or the like, poke a hole in each individual package.
Pack as many as you can into the bag, allowing about three inches at the end for the seal.

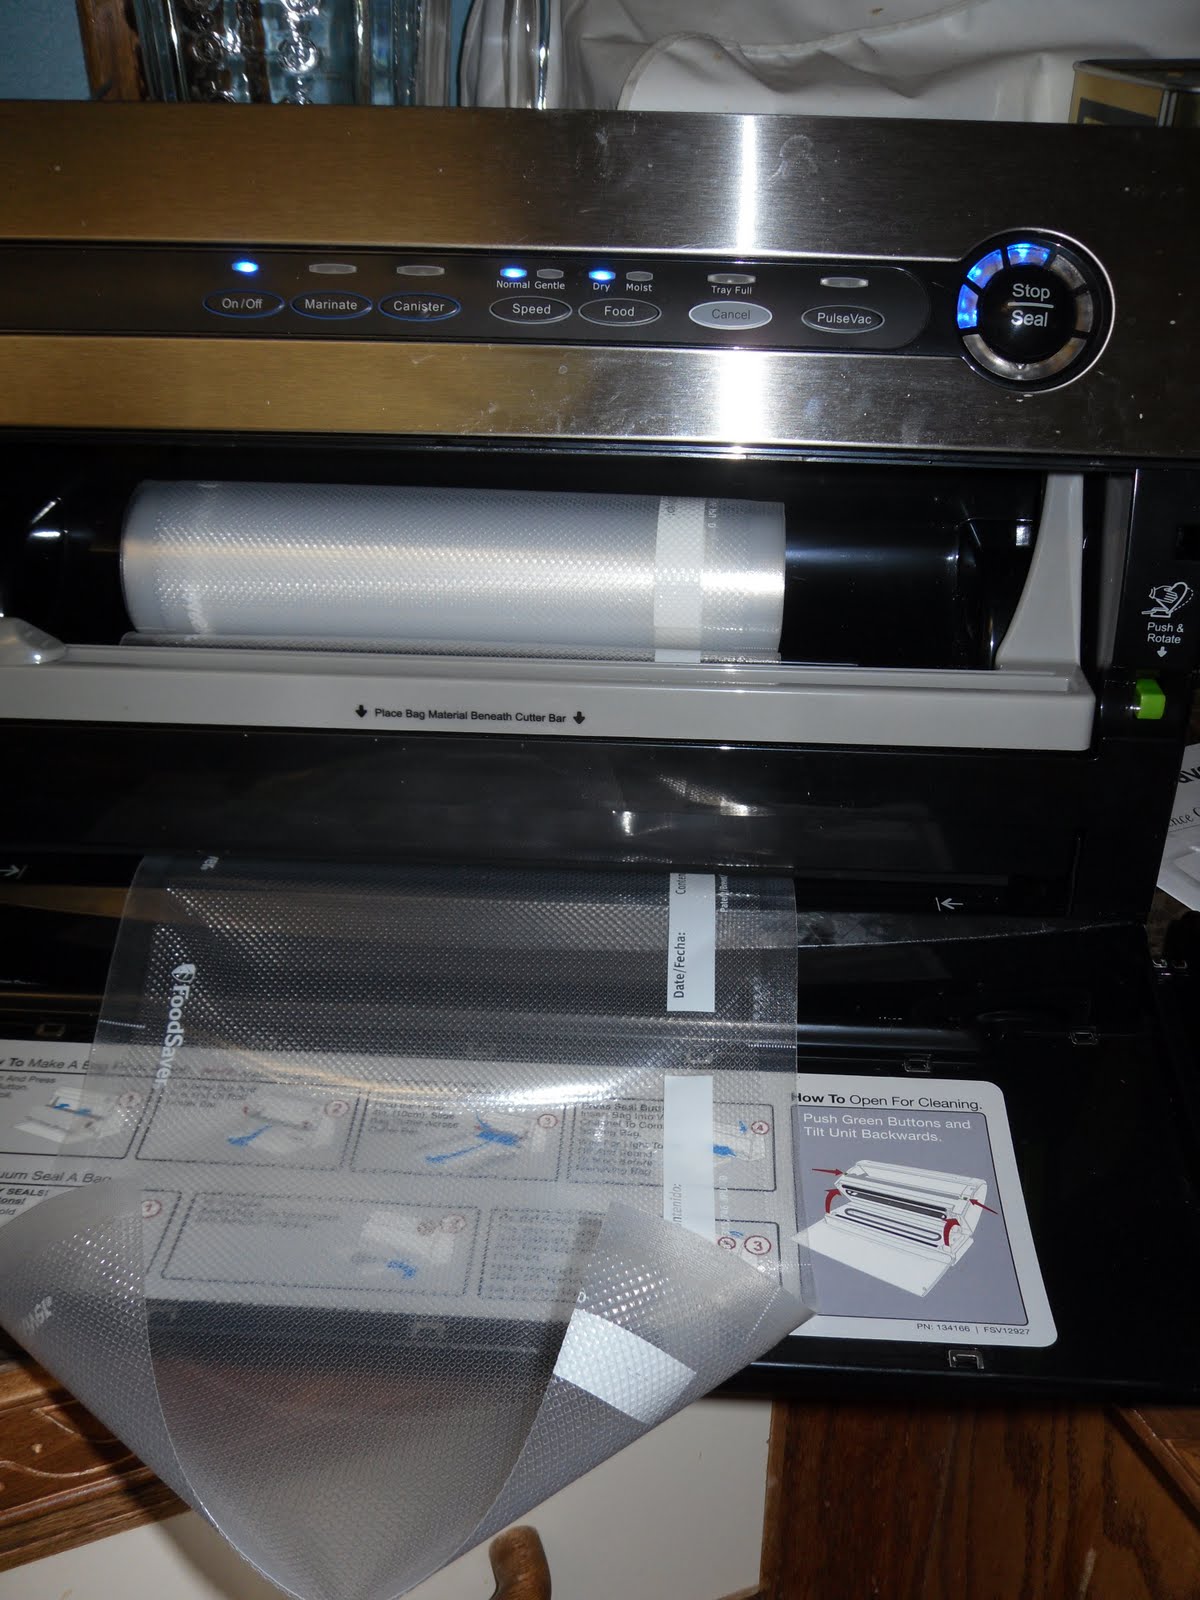
Pop the open end of the bag into the sealer and watch the magic happen.
I love the way it shrinks up and molds around the food.

Then some dried apricots met the same shrivelly fate.

And now for the real magic.
I borrowed this attachment from a friend. It fits on top of any mason jar. I stuffed the jar full of cherries and placed the lid on top. Then I screwed on the ring and, hard as I tried, I couldn't get it to seal. After a bit of research (thank you Google) I realized that you don't need the ring.
Oh.
So, back to the drawing board.
Jar.
Lid.
Sealer attachment.
Vacuum hose from the base of the sealer firmly secured in the top.
A few seconds of vacuum-y noise and the magic is complete.

I do believe that I will have to buy me one of these attachments. The cost is minimal when you already have the jars and lids and I like that there is no plastic.
I'm so excited about this discovery that I may have to be restrained from putting everything in my pantry in jars!
If you're local and want to come over and do some of your own jars, let me know.
And speaking of canning lids, I've ordered 1,500 Tattler lids, which should be here in a few days. I will probably have some extras, if anyone wants to try them. Tattler lids have been around for 30 years and their popularity has been gaining ground of late. I'll let you know how they work.
Wasn't that fun?
P.S. Not all the lids are for me. It's a group order. In case you were wondering if I've turned into a compulsive canner.
I think I need a sealer!
ReplyDeleteI think I want a sealer but am not sure if I would use it all that much. Do you use it to seal things you freeze? What else besides dried fruit and candy bars? Do you use it to seal candy bars to make them stay fresh longer? I need a tutorial:)
ReplyDeleteBTW, you are the 'reliable source':)
Compulsive cannner? You? NO!
ReplyDeleteSmashed potatoes sounds good.